Augmented Reality vs Virtual reality
Augmented Reality(AR)combines a view of the real world with computer-generated elements in real-time. It provides a different way to interact with the real world. It creates a modified version of our reality, enriched with digital information on the screen of our computer or mobile screen. Merging or combining the virtual and the real provides a new range of user experiences.
Virtual reality (VR) is a simulation created on a computer. It is an artificially created real-life environment. It isolates users from the real world. It makes the user feel as if he or she is experiencing simulated reality.
AR implementation in Mobile Apps
Android provides ARCore SDK and Apple provides ARkit for building augmented reality experiences in android and IOS.
ARCore provides API to enable the mobile phone to sense its environment, understand the world and interact with information. Some of the APIs are available across Android and iOS to enable shared AR experiences.
ARCore uses three key capabilities to integrate virtual content with the real world :
- Motion tracking uses phone sensors to understand and track its position relative to the world.
- Environmental understanding detects the size and location of different surfaces: horizontal, vertical, and angled surfaces, etc.
- Light estimation estimates the environment’s current lighting conditions.
How to setup ARCore and Sceneform
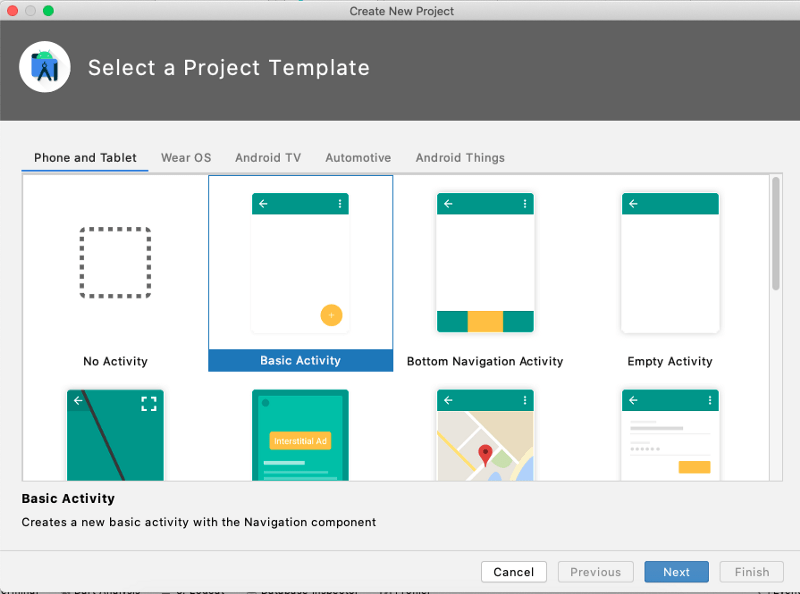
Using Android studio we create a new project:

Configure Gradle files
In build.Gradle we add the following dependencies to add support of ARcore and sceneform SDK:
As Sceneform requires java 8 features so we need to add compileOptions in our build.Gradle:
Add Sceneform plugin in the build.gradle at the top:
Gradle will only know the plugin only if we add classpath on project level Gradle file:
Now we have to syn the project.
Configure Manifest
We need to provide Camera permission and specify glEsVersion in Android.manifest
We have to specify the minimum required OpenGL version (which is 3) and also specify it as a required feature. Without this our app cannot run:
To indicate that this is an AR app we need to add:
We have to add metadata to indicate our app requires Google play services for AR so that it automatically is installed when a user downloads the app:
Adding AR fragment
In res folder create layout activity_main.xml:
In main activity load this ARFagment:
Run the application
Run the application on the device. If it launches the camera with a hand overlay it means all the setup is done correctly and you are good to go.


